
Instructions for Outlook Web mail login
Unlike Outlook software, the app version must be downloaded to the device to be able to sign in to use, Outlook Web mail only needs to log in with a few basic steps below:
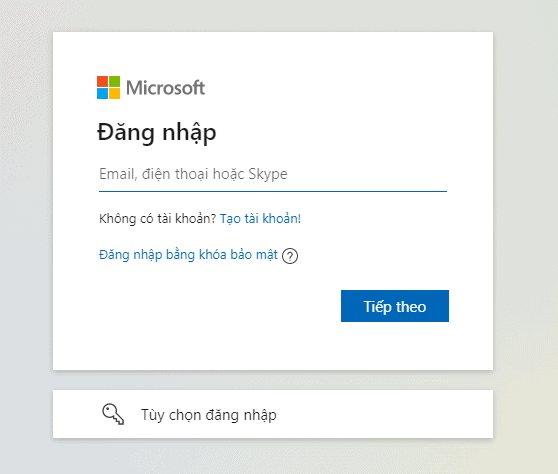
Step 1: Go to the address: https://login.microsoftonline.com/
Step 2: Enter copyright registration account => then click Continue
Step 3: Enter Outlook Mail web account password and click Log in
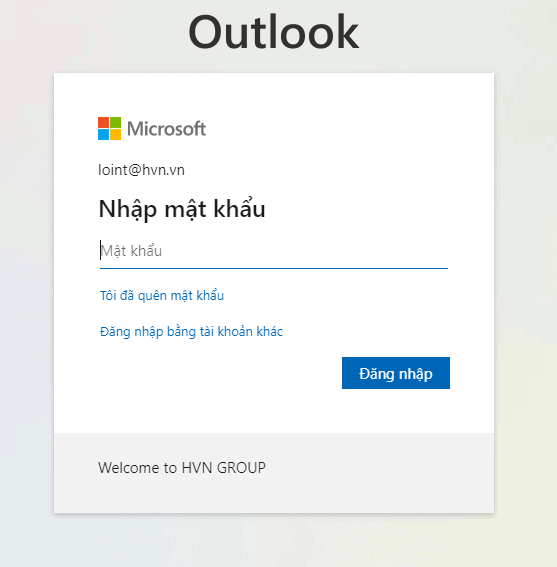
Step 4: Sign in successfully
How to send email via Outlook Web mail
To send email on Outlook Web mail software, users also follow the same steps as with the app version used on phones or computers.
Step 1: Click select New mail
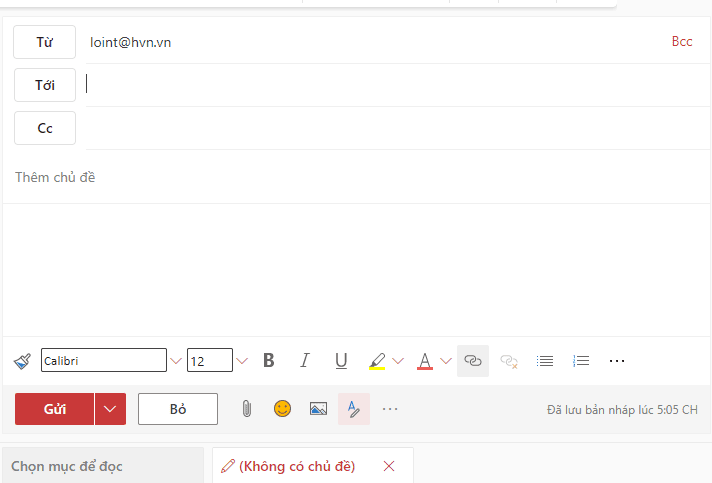
Step 2: Enter the recipient's email address or the receiving email Cc, Bcc
Step 3: Add subject, content and attachments if any
Step 4: Click on To send to complete.
How to reply to emails via Outlook Web mail
Step 1: Find the email you want to reply to.
Step 2: Click the “Reply” or “Reply All” button at the top of the email.

Step 3: You will see a new email compose page appear, which includes the content of the original email at the top of the email.
Step 4: Type the rest of your reply into the compose box.
Step 5: If you wish, you can insert or attach a file to your email by clicking the “Send File” button or dragging and dropping the file into the compose pane.
Step 6: Once you are done, click the “Submit” button at the top left of the page.
If you want to reply to an email without including the body of the original email, you can click the “Forward” button instead of “Reply”. Then, you just need to enter the recipient's email address in the "Send to" box, write the content of the message and press "Send".
How to create Outlook Web mail signature
Step 1: Click the gear icon on the right side of the page to open the Options menu.
Step 2: Select “View all Outlook settings” at the bottom of the menu.

Step 3: Select “Mail” in the menu on the left.
Step 4: Find and click “Email signature” in the list of options.

Step 5: In the Email Signatures page, you can create a signature by entering text and using the formatting tools in the control panel at the top.
Step 6: You can also insert an image, logo or symbol into the signature by clicking the “Image” button and selecting the image file you want to use.
Step 7: Once you have finished creating the signature, click “Save” at the top left of the page to save the changes.
Your signature has now been created and will automatically show up at the bottom of every new email you send from your Outlook account.
How to create Outlook Web mail auto reply
Step 1: Click the gear icon on the right side of the page to open the Options menu.
Step 2: Select “View all Outlook settings” at the bottom of the menu.
Step 3: Select “Mail” in the menu on the left.
Step 4: Find and click “Automatic reply” in the list of options.
Step 5: Select “Turn on autoresponders” to start creating autoresponders.

Step 6: Enter the subject and content of the auto-reply message in the corresponding boxes.
Step 7: If desired, you can set the start and end dates for the autoresponders by selecting the dates in the respective boxes.
Step 8: Then, click the “Save” button at the top left of the page to save your autoresponder.
Now, when someone emails you within the time you have set, they will receive an automatic response with the content you provided. Once the autoresponder has expired, you can go back to the settings to turn off or edit your autoresponder.
How to recall Outlook Web mail messages
Step 1: The first thing you need to check is if this feature is enabled in your account.
Step 2: Click the gear icon on the right side of the page to open the Options menu.
Step 3: Select “View all Outlook settings” at the bottom of the menu.
Step 4: Enable undo send feature.
Note: This form of withdrawal will only be applicable within a maximum of 10 seconds after sending, so users must be very careful and check email carefully before sending email on Outlook Web mail.

Step 5: At the bottom left corner of the screen, a small message will appear, click "Undo" to undo.

How to schedule an Outlook Web mail appointment
Step 1: Click the “Calendar” icon in the left corner of the screen.

Step 2: Select any date you want to create your meeting or appointment.
Step 3: A new window will appear, allowing you to enter information about your meeting or appointment. You need to enter the following information:
- Title: Enter a title for the meeting or appointment.
- Date and time: Select a start and end date and time for the meeting or appointment.
- Location: Enter the location for the meeting or appointment.
- Description: Enter a description of the meeting or appointment.
- …

Step 4: Click the “Save” button in the upper right corner of the window to save the meeting or appointment.
Step 5: If you want to share the meeting or appointment with others, you can click the “Share” button in the upper right corner of the window and enter the email address of the person you want to share with.
After completing the steps above, you have scheduled a meeting or appointment in Outlook Web and can manage it on your calendar.