In this tutorial, JAY team will guide you how to manage accounts and grant a new user account in the Premium URL Shortener system provided by JAYbranding.
Login with the provided Admin account
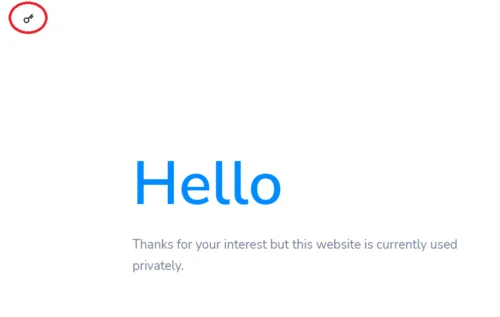
Step 1: After accessing the URL provided by JAYbranding (eg 1050.jaysoft.dev), you will see a greeting interface appear similar to the image below. Click on the key icon to go to the page Log in.
Step 2: Import Email or username & Password Admin account has been provided and click Login to login.
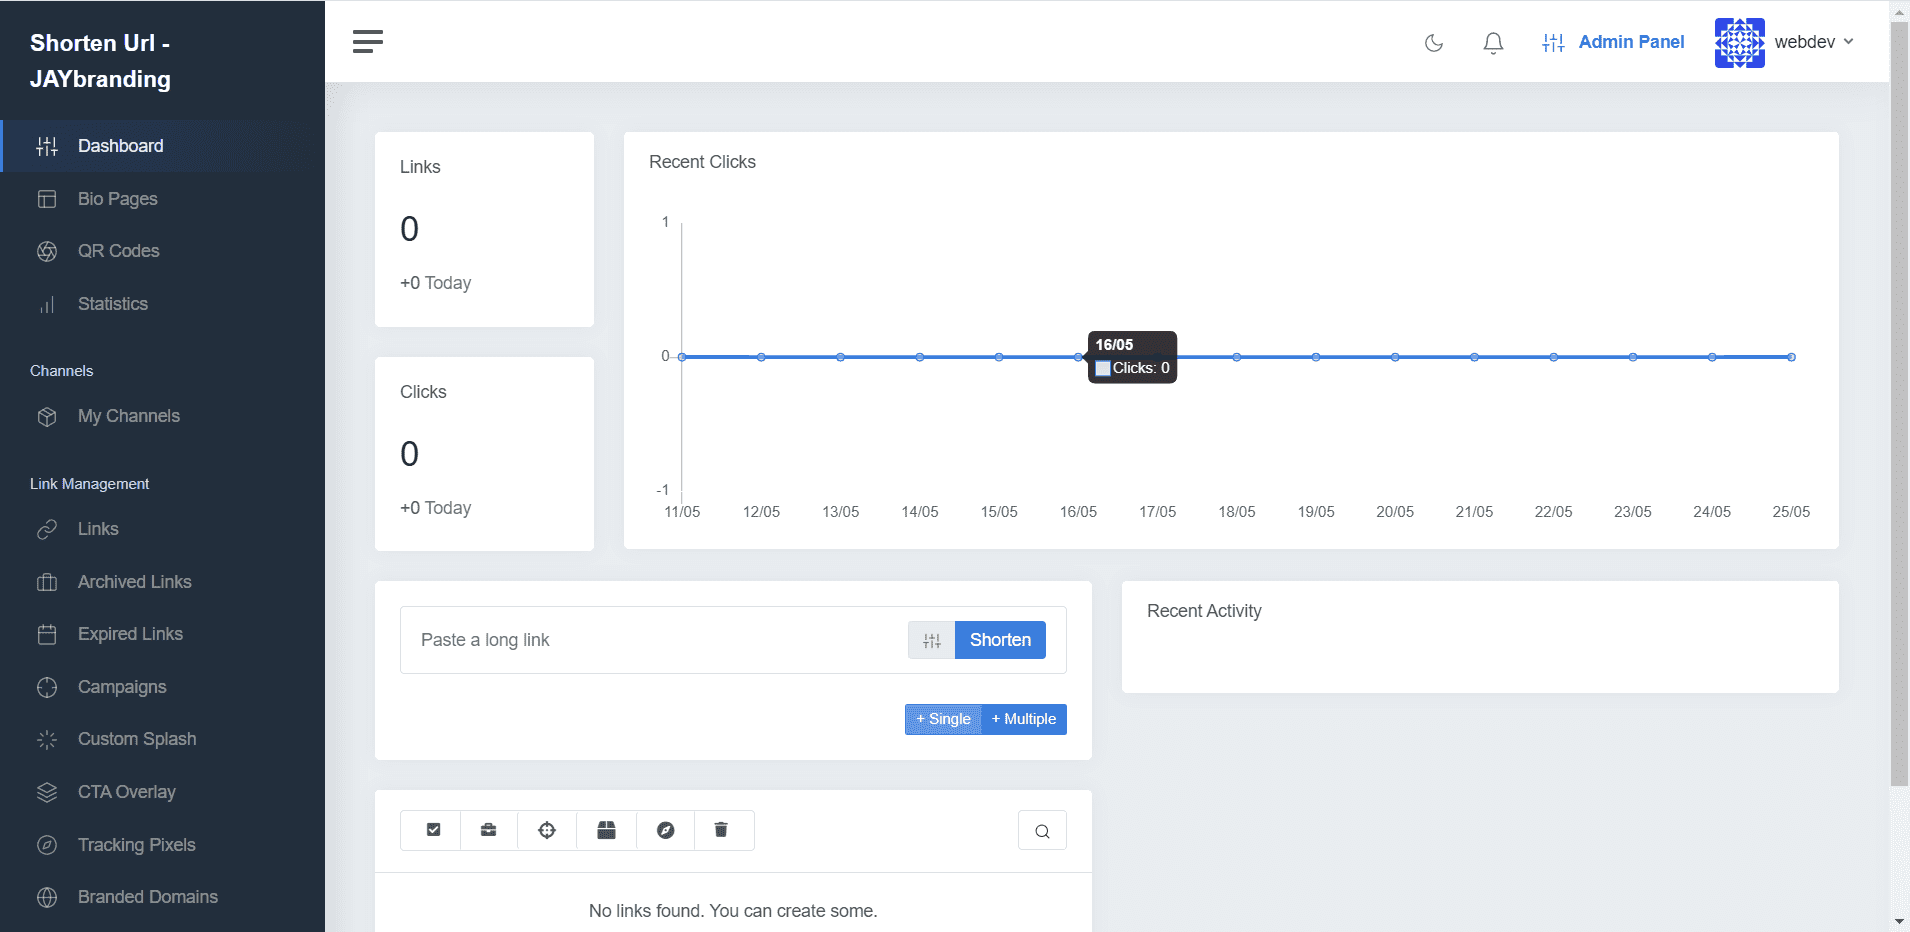
After successful login, you will see the member interface as shown below.
Instructions for managing member accounts & granting new accounts
Step 1: The interface after logging into the account (whether it is an account with Admin or normal User rights) is the interface of a normal User. To use the account management feature, you need to switch to the Admin interface.
In the upper right corner of the screen, tap Admin Panel (next to the avatar frame) to enter the Admin interface.

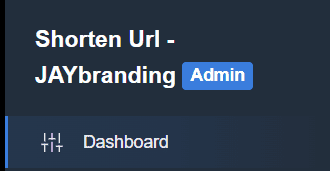
After entering the Admin interface, you will see a tagline Admin blue next to the website name.
Step 2: From the left menu, select Users.
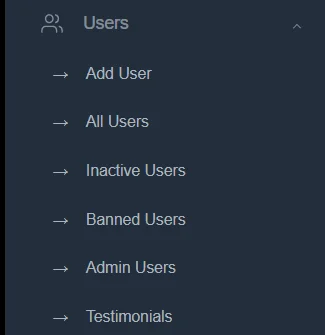
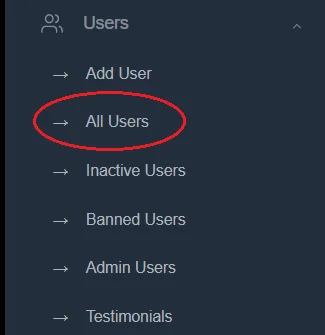
A drop-down list will contain all the features related to account management such as Add User (add new account), All Users (all accounts), Inactive Users (account is no longer active), Banned Users (account has been banned), Admin Users (Admin account), Testimonials (testimonials, reviews).
Step 3: Because here, most of us use the Premium URL Shortener toolkit in the form of internal (private) rather than creating a public service that anyone can use so you just need to care Add User and All Users. Feature Add User also accessible from All Users. So we will choose All Users.
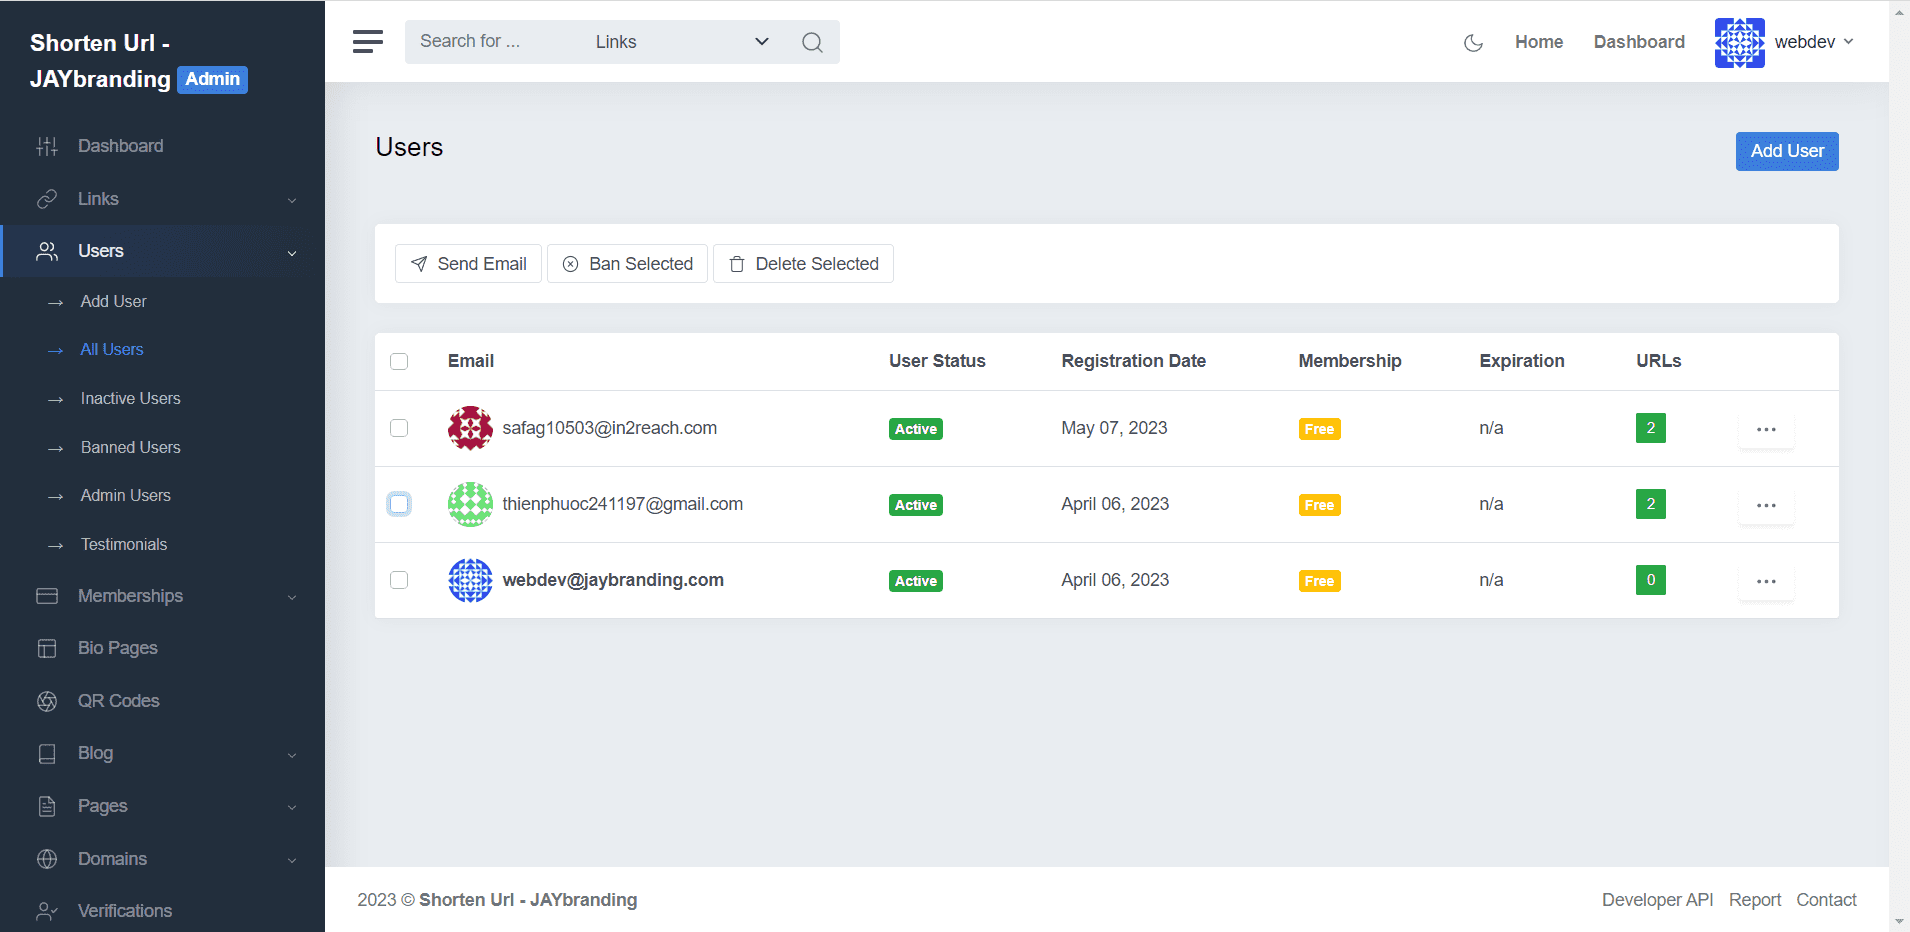
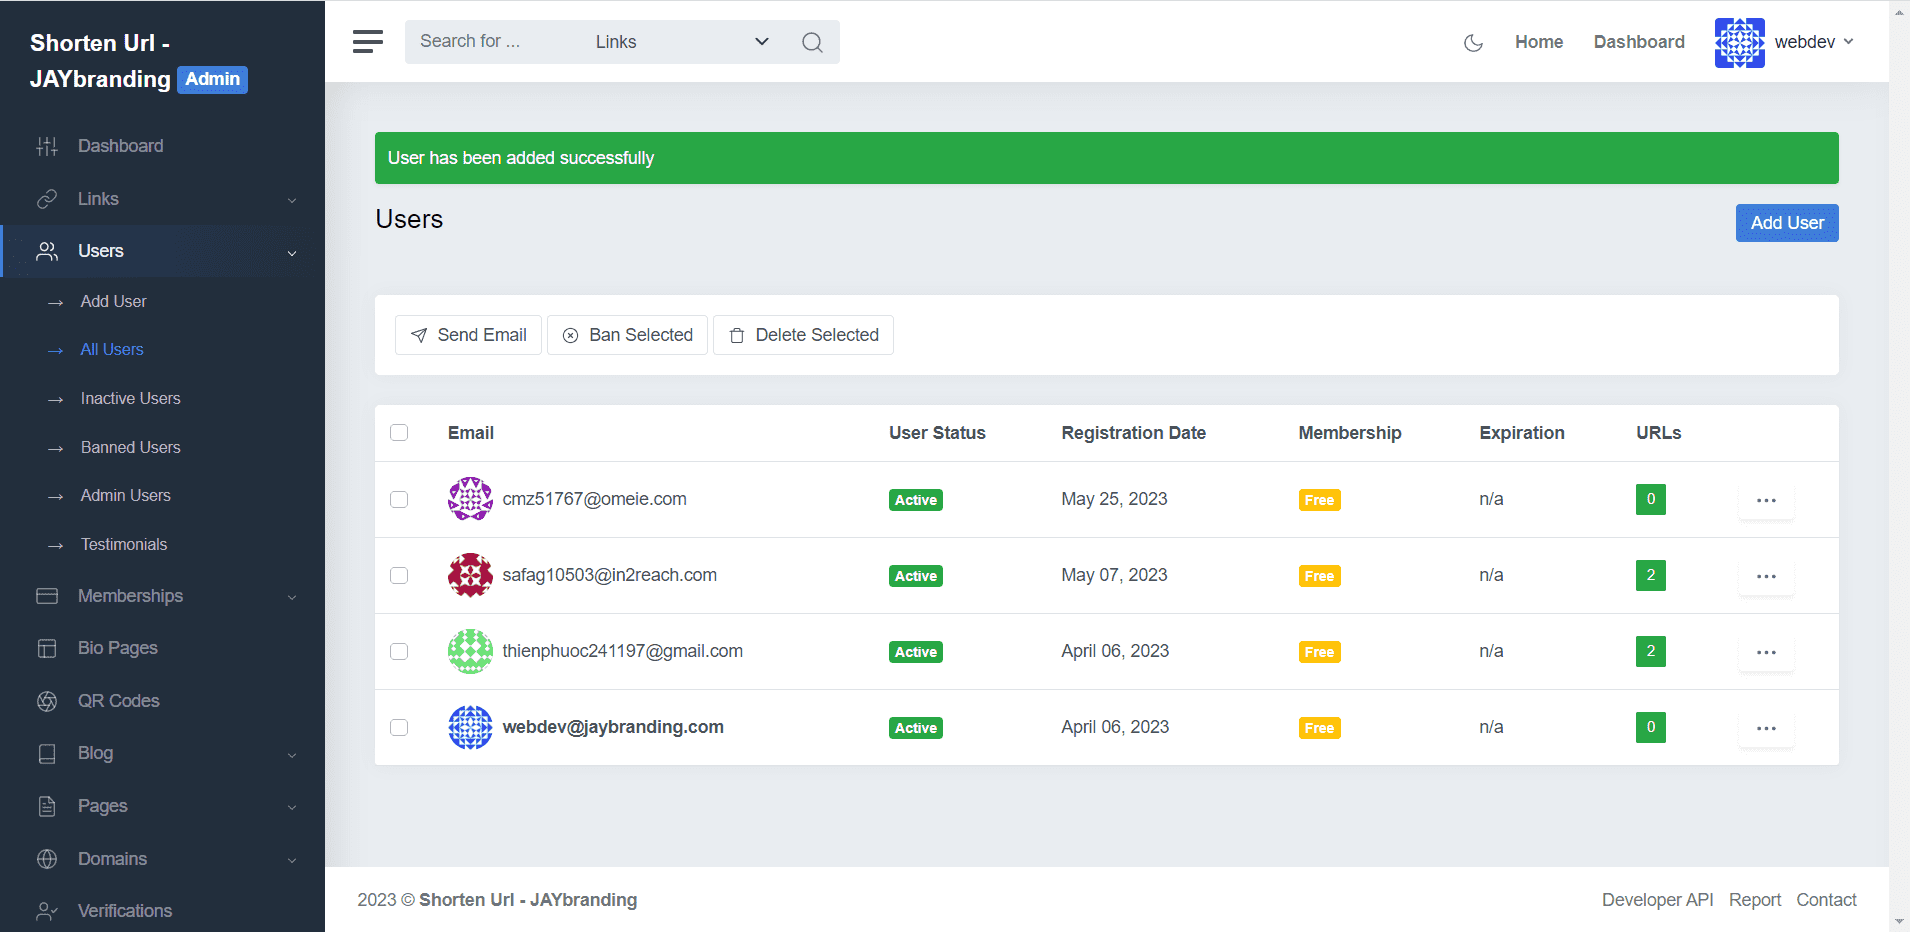
Step 4: At interface All Users, you will see a list of existing accounts in the website. Here, you can check the checkbox next to Email and perform functions like Send Email (send mail), Board Selected (ban account) & Delete Selected (Delete the account).
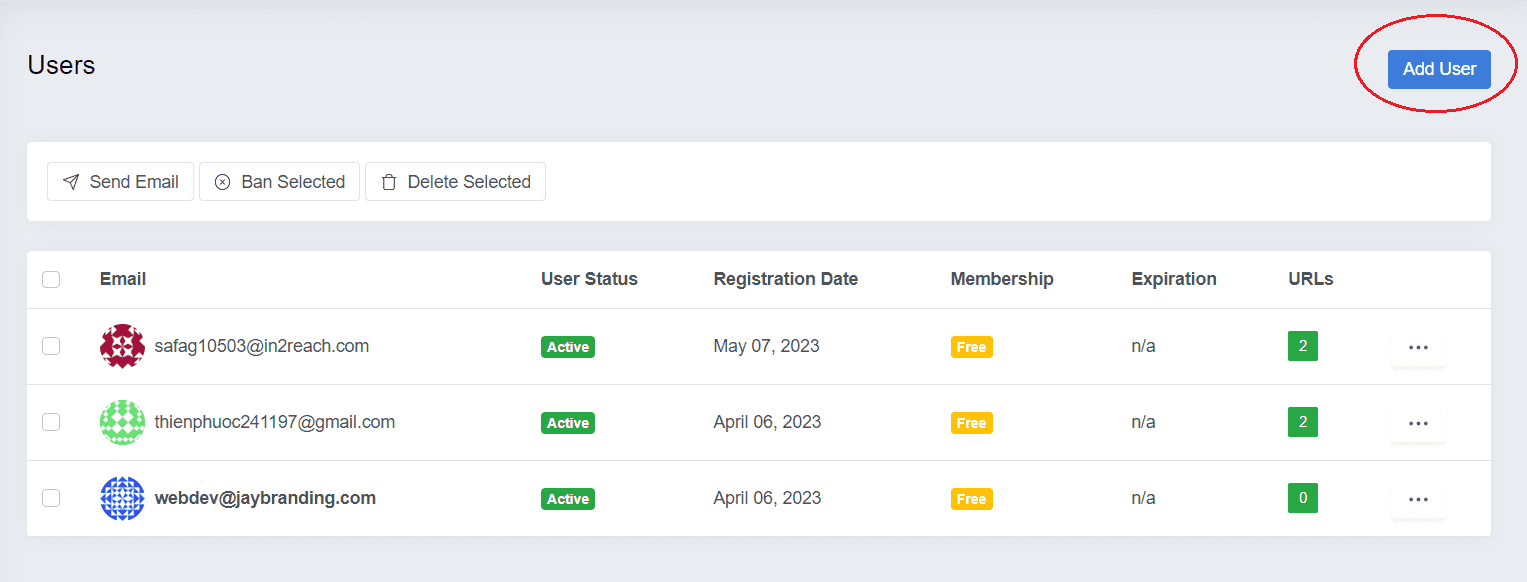
Step 5: To grant a new member account, press the . button Add User right side of the screen.
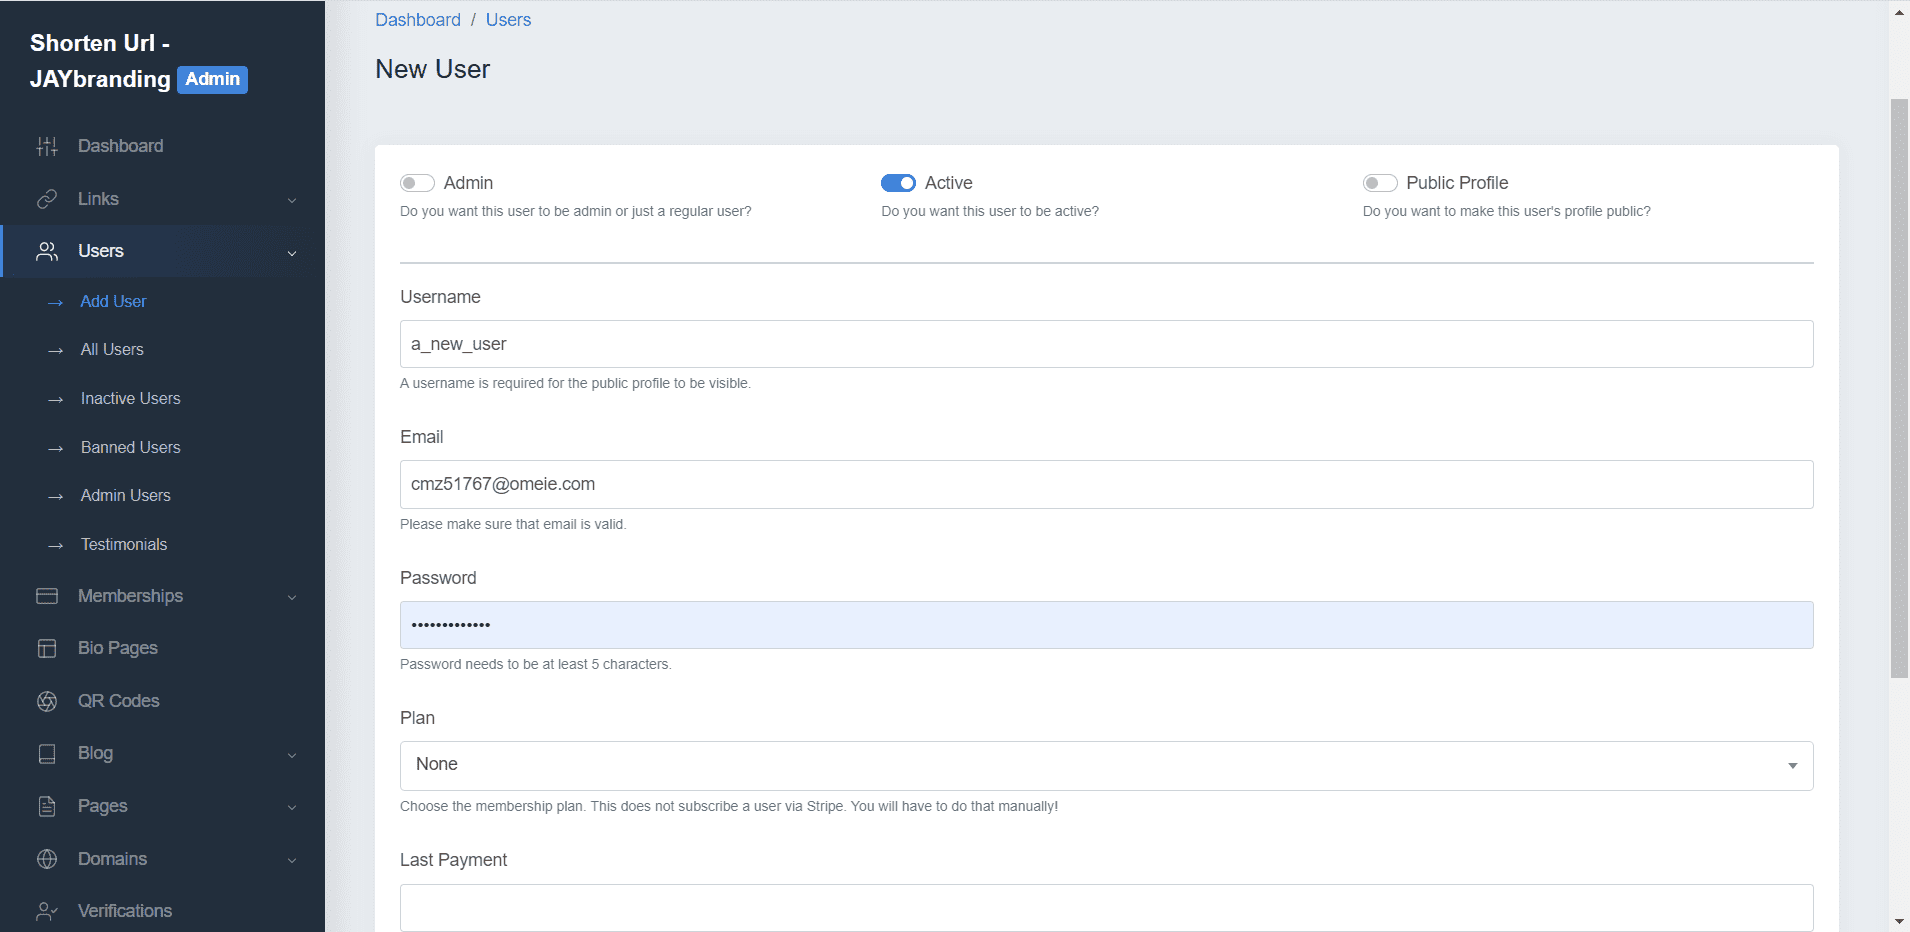
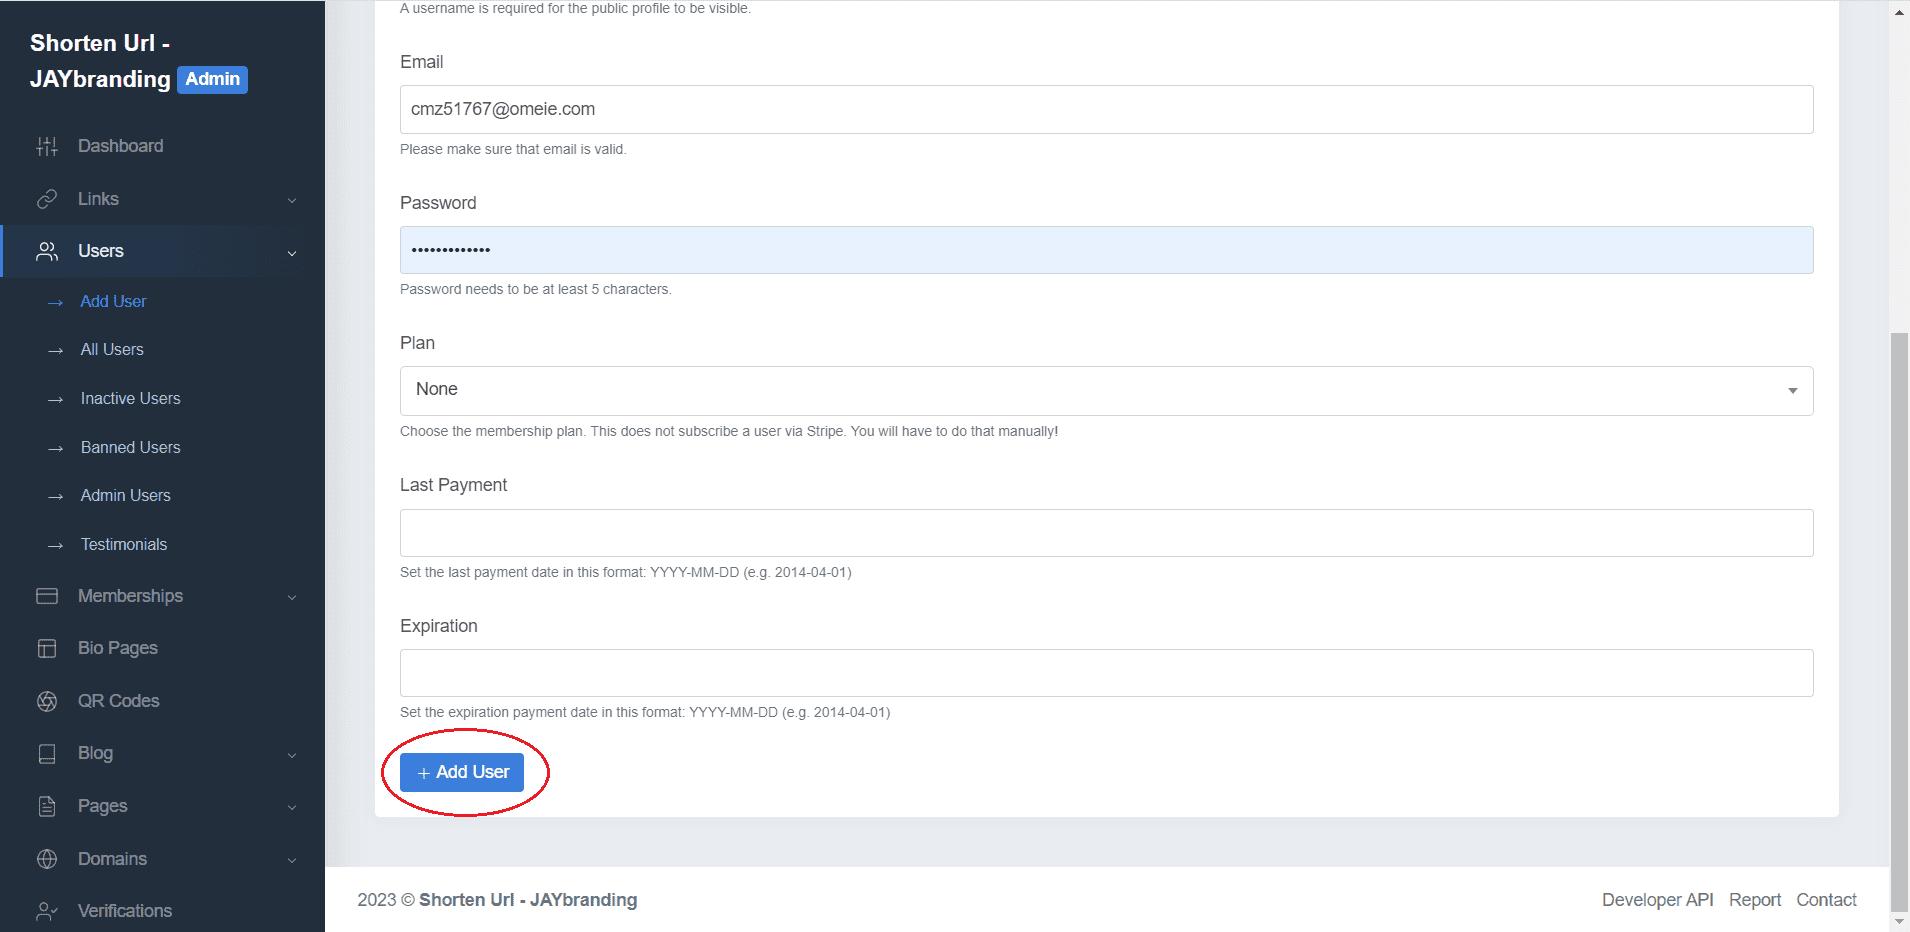
Step 6: At the interface New User, you enter all the information like Username (account name), Email, Password (password).
Since we are using the internal system here, the three fields Plan, Last Payment and Expiration we leave it blank.
With three switches above:
– Admin (grant a new account with Admin rights): You should only grant an Admin account to someone with sufficient authority to avoid unnecessary system troubles (Recommended). turn off, use only a single Admin account granted).
– Active (Activation): Turn on if you want the grant account to take effect immediately, off if you want to pre-create an account but don't want it to be usable right now (Recommended) turn on).
– Public Profile (Public Information): Turn on if you want to make information about this account public (Recommended) turn off since we are using internal system)
Step 7: After you have entered all the information and carefully checked, select Add User.
You will be redirected back to the page All Users initially, with the success message line User has been added successfully blue above.
At this point, you can already log in and use features like shorten link and QR Code as a tutorial INSTRUCTIONS TO CREATE QRCODE WITH SHORT LINK AND VIEW VISIT REPORT IN ONLY 4 STEPS.
Good luck!


