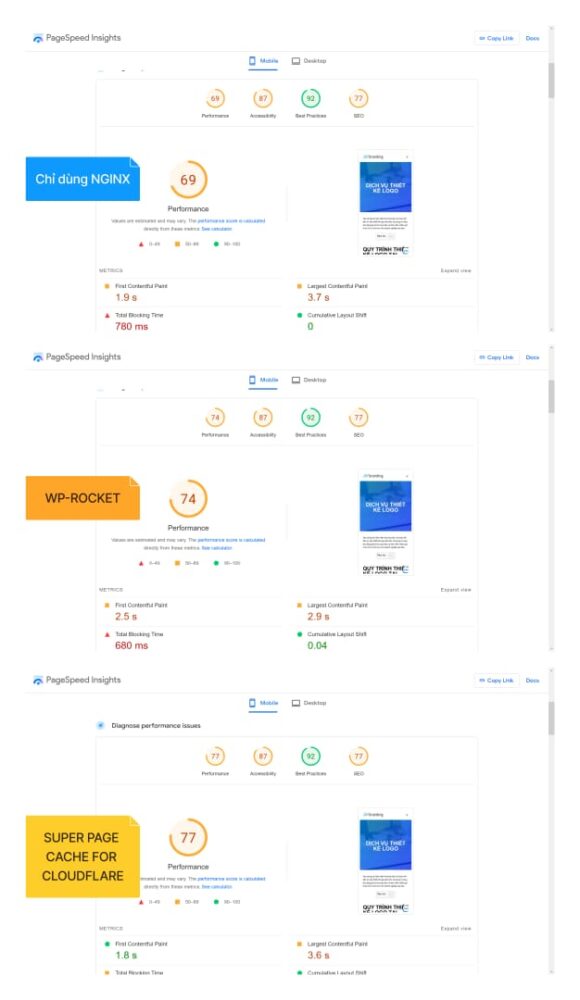
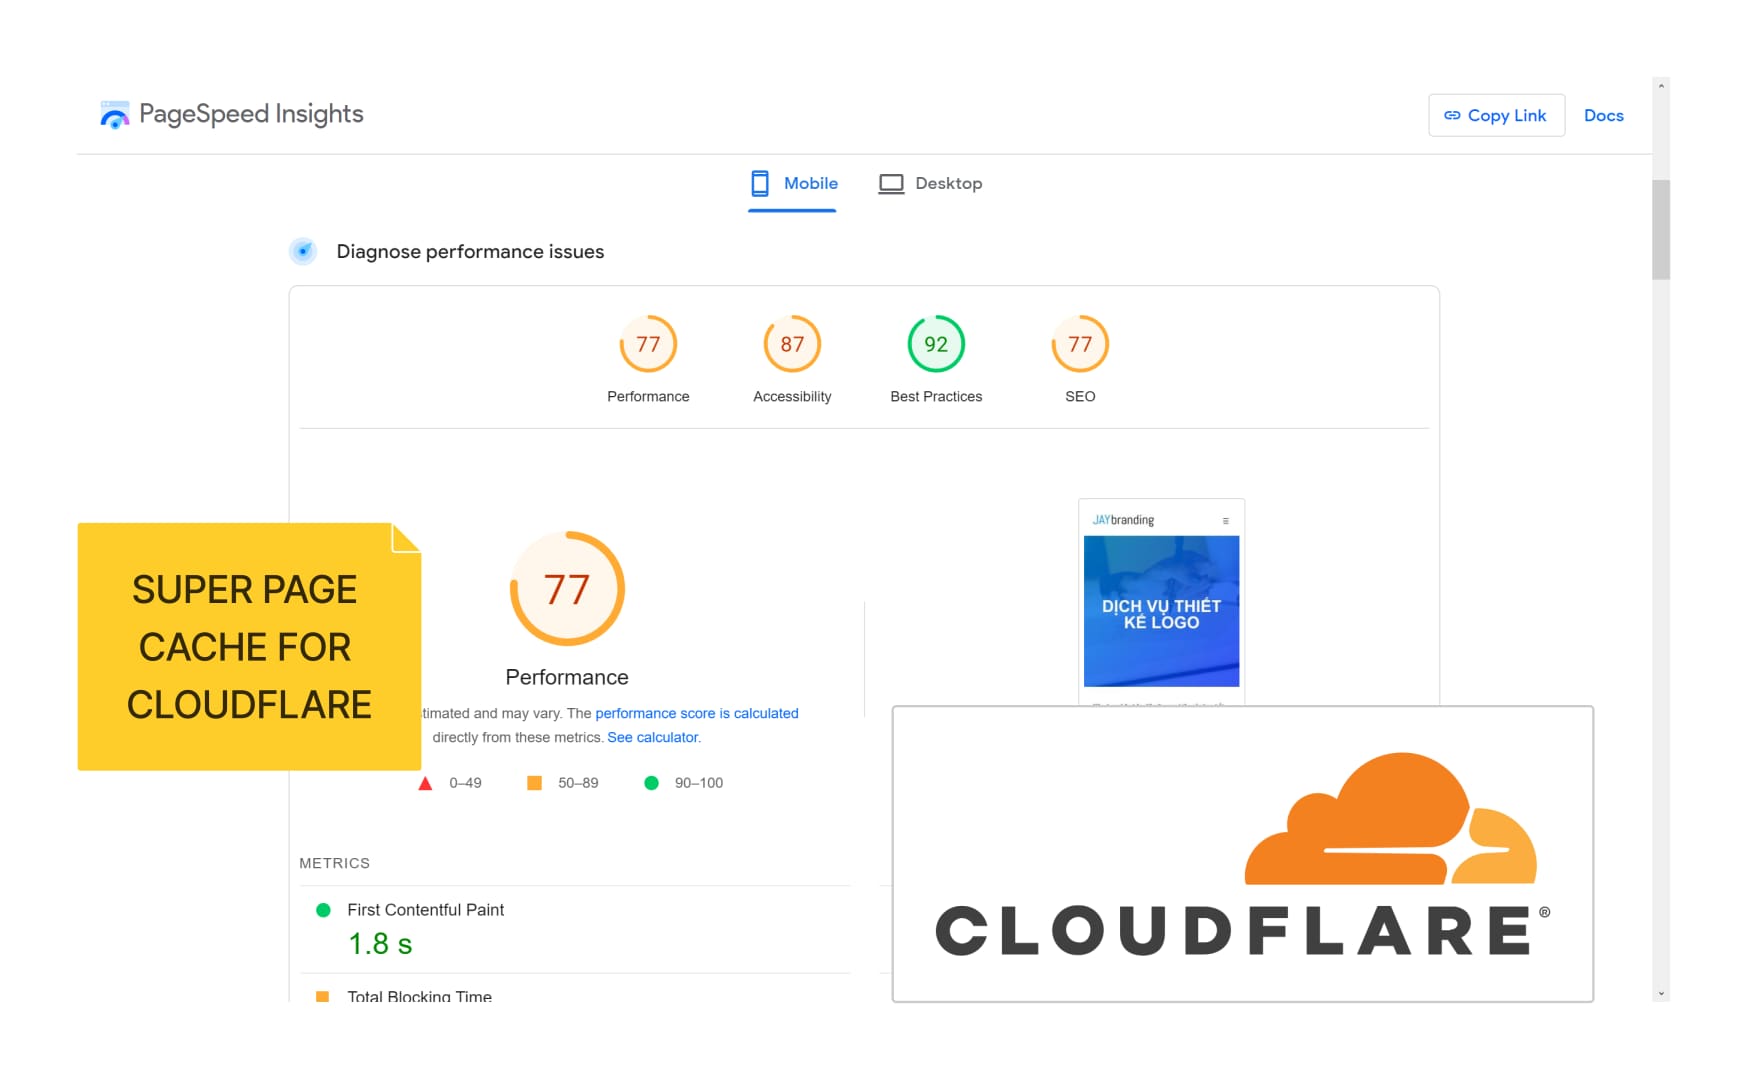
Super Page Cache for Cloudflare is a completely free plugin with outstanding features and somewhat comparable to WP-rocket. Before you continue reading this article, you can check the results obtained when enabling Super Page Cache, Enabling WP-rocket and Cache nginx from the server.

Instead of just storing static space like images, CSS and JavaScript files, you can use Cloudflare to host your entire WordPress site. So if you have mostly static content and don't change often, you can let Cloudflare host your site! When combined with Cloudflare Cache Reserve, Cloudflare can serve as a second hosting provider, mimicking your original web hosting provider for blazing global speeds. Here's how.
Step 1: Download Super Page Cache for Cloudflare plugin
While it is possible to configure Cloudflare to host your WordPress site manually, use the plugin to cover all competition and configuration scenarios so you can use the non-hosted version of your site. yours if you want. And the best plugin for that is Super Page Cache for Cloudflare – formerly known as WP Cloudflare Page Cache.
Download this plugin and go to the configuration screen under “Settings -> Super Page Cache for Cloudflare”.
Step 2: Get Your Cloudflare Global API Key
This article does not guide you to create a Cloudflare account, but you can easily create one for free here www.cloudflare.com
The plugin needs a Global API Key to manage the interface between your website and Cloudflare automatically. To get the API token, login to your Cloudflare dashboard, click on the profile icon in the top right corner and click on “My Profile” as shown here:
My Profile Cloudflare
Now click on “API tokens” on the right side, then find “Global API Key” and click on “View”:
Get Cloudflare API Key
The next screen will ask you to confirm your Cloudflare password and pass a Turnstile test. Once that's done, Cloudflare will show you the Global API Key. Warning: This key is very sensitive. Don't give it to anyone but you.
Copy your Cloudflare Global API Key
After you have copied this key, return to the Super Page Cache for Cloudflare settings page. For “Authentication Mode”, click “API Key”, select your Cloudflare email ID and paste the provided Global API Key in the box provided as shown here:
Import Cloudflare API Key into Super Page Cache for Cloudflare Plugin
Scroll down, select the domain for which you want to enable Cloudflare hosting for WordPress and save your changes.
Step 3: Enable Archive and Check It's Working
After you finish configuring and saving your settings, you can enable and disable Cloudflare storage for WordPress by enabling the orange buttons at the top of the settings screen as follows:
Enable and Disable Cloudflare Storage
You can also click the “Test Cache” button and confirm that everything is working as it should:
Check that Super Page Cache for Cloudflare is Working
And you're done!
Step 4: Configure Cloudflare WordPress Cache Default Settings
The default settings for the Super Page Cache for Cloudflare plugin are pretty good. But you can click the “Caching” tab to further configure and fine-tune your experience. For example, when deleting updated pages, I choose to delete only HTML pages – it's not necessary to reset the cache for all static files when you've just changed a post.
You can also configure Secondary Page Caching, which stores copies of your pages on your server. This is similar to regular WordPress caching plugins like W3 Total Cache. Other advanced options include preloading deleted pages that you configure to your preferences.
Check that Cloudflare WordPress Page Caching is working
To test that Cloudflare is caching your WordPress pages, first load a page in the browser to “start” caching. Then, open the browser's developer tools by pressing “Ctrl + Shift + C” and selecting the “Network” tab. When you refresh your page, it will show all the resources the browser has loaded. The first resource will be your page URL. Select it and on the right hand side check “Response Headers” as shown here:

Verify that Cloudflare Caching for WordPress is working
There should be a new response header called “CF Caching Status” and the value should be “HIT” as shown above. That means Cloudflare is serving this page from its cache.
Cloudflare WordPress Caching Fast Response Time
To test the response time, I use Cloudflare Analytics, it's better than Google Analytics to measure page speed. You can see that I have an average response time of just 15ms because most of my WordPress sites are served from Cloudflare:
15ms WordPress Response Time with Cloudflare Caching
That's faster than any web hosting provider and any regular caching plugin. For faster speeds, you can configure Cloudflare to serve stale content from the cache while it loads fresh objects from the origin server.
Access an unarchived version of your Page
Of course, you often want to see the unarchived version of your page. To do this, add the query string “? swcfpc=1” to your URL and it will bypass Cloudflare's caching. For example, if you want to see the unarchived version of this URL:
https://www.jaybranding.com/thiet-ke-trang-web-chuyen-nghiep-chuan-seo/
Change it to:
https://www.jaybranding.com/thiet-ke-trang-web-chuyen-nghiep-chuan-seo/?swcfpc=1*
Not only does it load the "real" page, but it also changes all links on the page to include the query parameter so you can browse the uncached version of your site without the need for additional query parameters. question each time. It works great!


